Tumbler
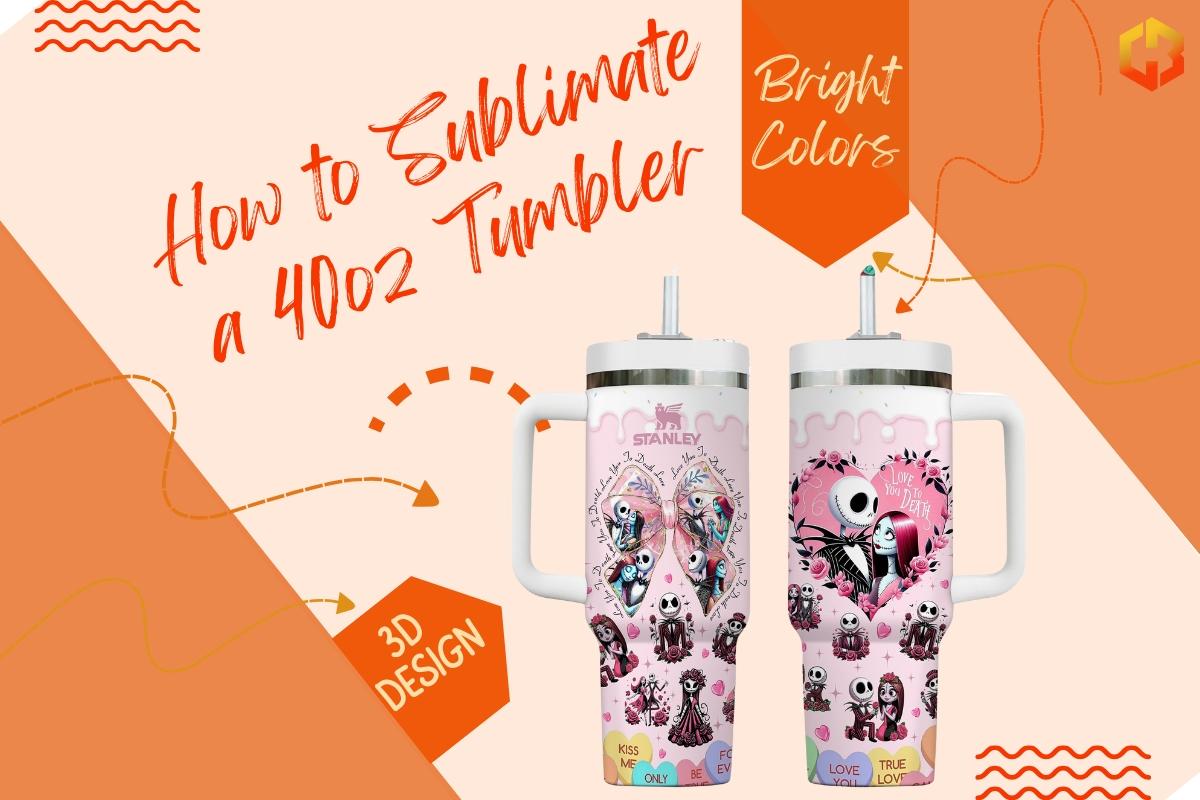
How to Sublimate a 40oz Tumbler
How to Sublimate a 40oz Tumbler: A Step-by-Step Guide
Sublimating a 40oz tumbler is a fun and rewarding way to personalize drinkware for personal use, gifts, or even your small business. The process involves transferring vibrant designs onto a tumbler using heat and pressure, resulting in a durable, high-quality finish. Whether you’re new to sublimation or looking for tips to refine your craft, this guide will walk you through everything you need to know.
What Is Sublimation?
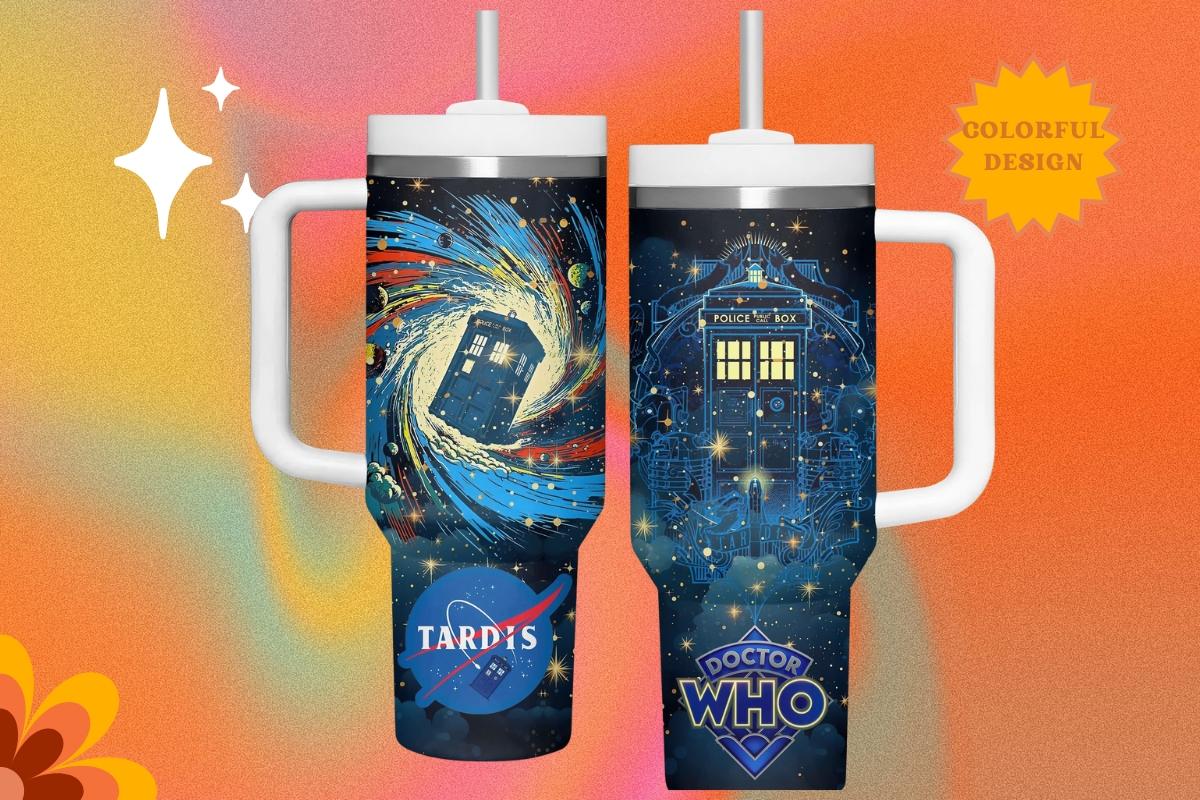
Sublimation is a process where heat turns a special type of ink into gas, which bonds with the polyester coating on a tumbler. Unlike stickers or vinyl, sublimation fuses the design directly into the tumbler’s surface, making it resistant to peeling, fading, or cracking.
For successful sublimation, you’ll need compatible equipment and materials, which we’ll cover below.
Materials You’ll Need
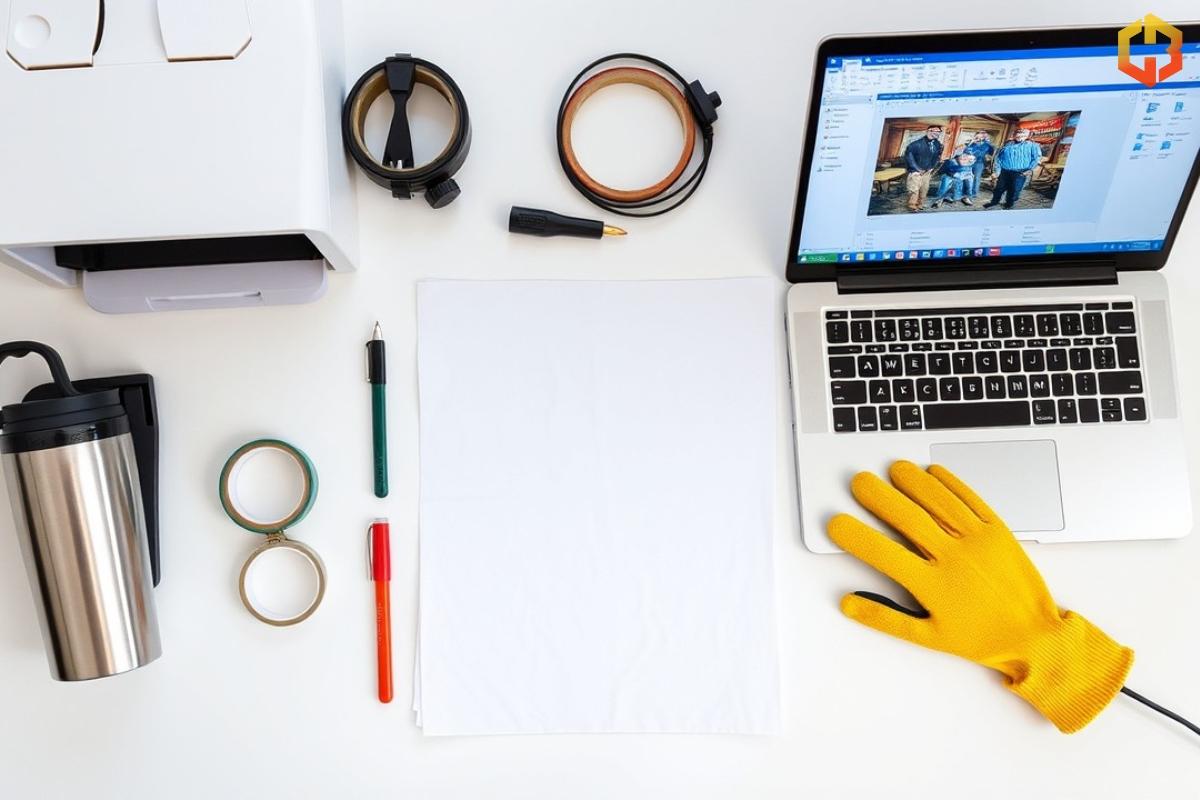
Before starting, gather the following essentials:
- 40oz Tumbler: Ensure it is coated for sublimation. Regular tumblers without a polyester coating won’t work.
- Sublimation Printer: A printer loaded with sublimation ink (e.g., Epson EcoTank converted for sublimation).
- Sublimation Paper: High-quality paper designed to hold and release sublimation ink.
- Heat Tape: Used to secure your design to the tumbler, preventing shifting during the transfer process.
- Heat-Resistant Gloves: Protect your hands while handling hot tumblers.
- Heat Press or Tumbler Press: A tumbler press is ideal, but a convection oven with a silicone wrap can also work.
- Design Software: Programs like Adobe Photoshop, Canva, or free alternatives like GIMP are great for creating or customizing designs.
- Lint Roller: Removes dust or fibers that can interfere with the sublimation process.
Step-by-Step Guide to Sublimating a 40oz Tumbler
1. Prepare Your Design
Start by creating or selecting a design that you want to sublimate onto your tumbler. Ensure the dimensions match the tumbler size (for a 40oz tumbler, you’ll typically need a design around 10.5 inches by 9.5 inches, but measure your tumbler for accuracy).
- Use vibrant colors for the best results, as sublimation often yields brighter and more eye-catching designs.
- Mirror your design before printing so it transfers correctly onto the tumbler.
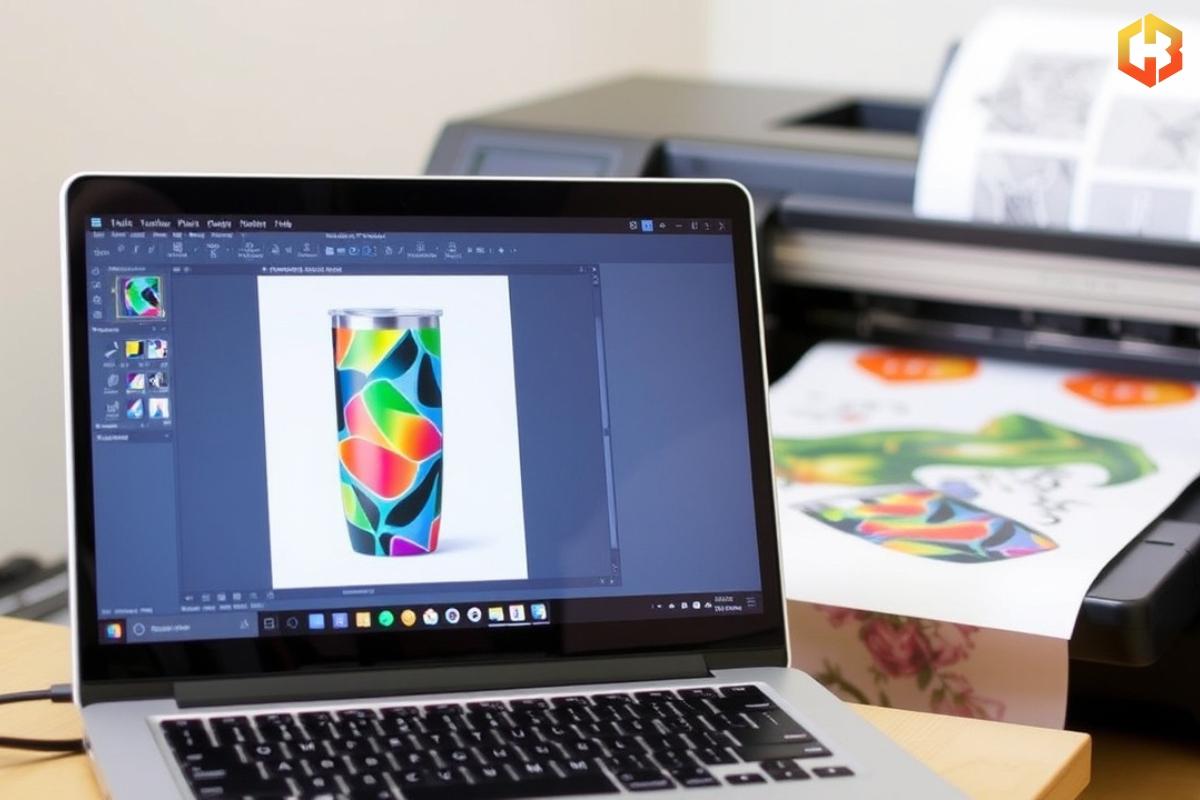
2. Print the Design
Load your sublimation paper into your sublimation printer and print your design. Double-check your printer settings to ensure you’re using the highest quality print mode and the correct paper type.
3. Prepare the Tumbler
- Use a lint roller to remove any dust or debris from the tumbler’s surface. Even the smallest particles can disrupt the transfer process.
- Wipe the tumbler with a clean, dry cloth if necessary.
4. Attach the Design
- Wrap the printed sublimation paper tightly around the tumbler with the design facing inward.
- Secure the paper using heat-resistant tape. Ensure there are no gaps or wrinkles, as these can cause uneven transfers.
5. Heat Press or Oven Setup
If you’re using a tumbler press:
- Preheat the press to the recommended temperature (typically 360°F to 400°F).
- Place the tumbler in the press and follow the manufacturer’s guidelines for timing (usually 45 to 60 seconds).
If you’re using a convection oven:
- Preheat the oven to 400°F.
- Use a silicone wrap to tightly secure the sublimation paper to the tumbler.
- Place the tumbler on a heat-resistant surface or rack, ensuring it’s stable. Heat for 5 to 7 minutes, rotating halfway through.
6. Remove the Tumbler
Using heat-resistant gloves, carefully remove the tumbler from the press or oven. Allow it to cool for a minute or two before handling further.
7. Peel and Reveal
Gently peel off the sublimation paper to reveal your vibrant, custom design. Admire your work and let the tumbler cool completely before use.
To help you get started, check out this helpful video guide. It walks you through each step of the process, from preparing your materials to achieving a flawless finish. Watch the video and follow along as we dive deeper into the details below!
Tips for a Perfect Sublimation
- Test Beforehand: Practice with smaller items or scrap pieces of sublimation paper to perfect your technique before attempting a full-sized tumbler.
- Monitor Pressure: Too much pressure can distort your design, while too little can result in uneven transfers. Adjust your press settings accordingly.
- Avoid Overheating: Follow recommended time and temperature settings to prevent colors from dulling or burning.
- Use Quality Materials: High-quality sublimation paper, ink, and coated tumblers make a significant difference in the final product.
Troubleshooting Common Issues
- Faded Colors: This may occur if the temperature is too low or the heating time is insufficient.
- Blurry Images: Ensure the sublimation paper is tightly secured, and check your printer settings for optimal quality.
- Uneven Transfers: Use a lint roller to clean the tumbler and ensure consistent pressure during the process.
Why Sublimate a 40oz Tumbler?
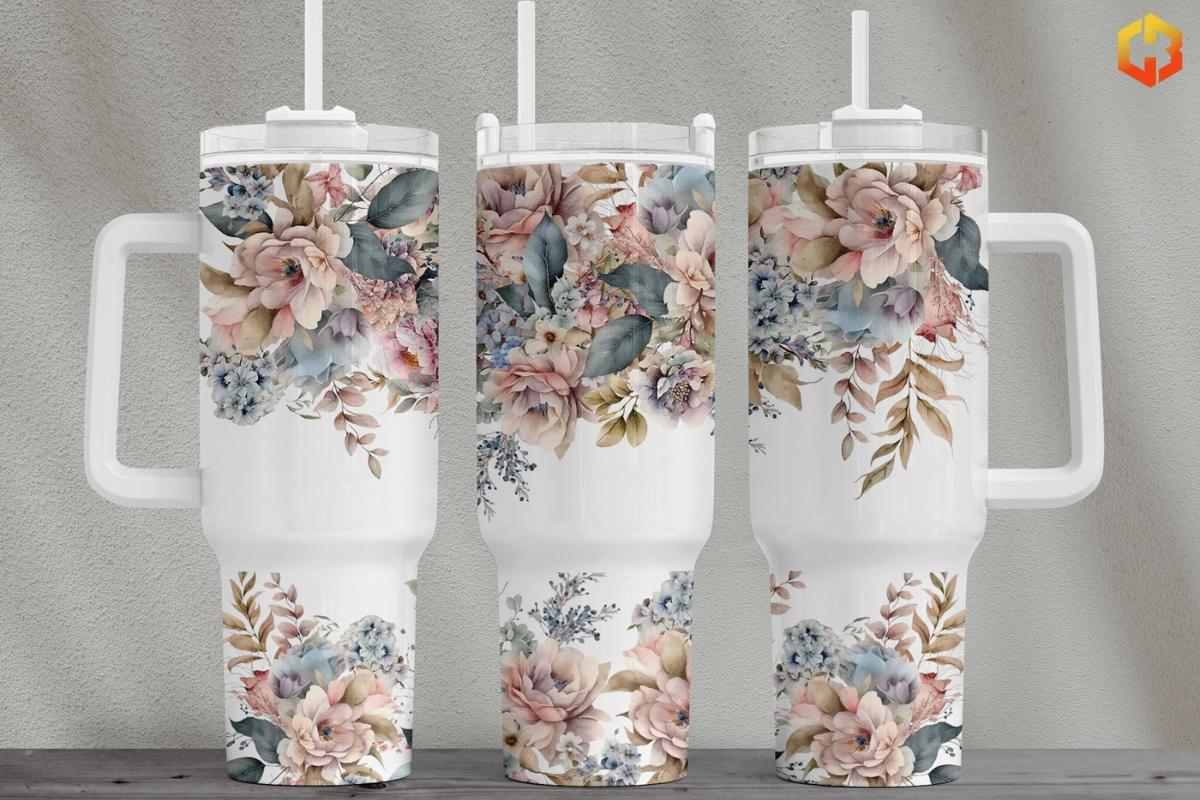
Sublimated tumblers are perfect for showcasing unique designs, logos, or personalized messages. They’re highly durable, scratch-resistant, and dishwasher-safe, making them ideal for daily use. Plus, with the growing popularity of customizable drinkware, sublimated tumblers are a fantastic option for small businesses looking to expand their product offerings.
Final Thoughts
Sublimating a 40oz tumbler is an enjoyable and straightforward process once you have the right tools and techniques. By following this guide, you’ll be able to create stunning, professional-quality designs that are built to last.
Whether you’re crafting for yourself, gifting to loved ones, or launching a new business venture, sublimation opens the door to endless creative possibilities. So gather your materials, fire up your press, and let your imagination flow!
Read More:

